INSPECTION & REPAIR TIPS FOR EXPERTS.

Here’s the deal with keeping your car’s steering and suspension in tip-top shape! It’s a great idea to give those parts a once-over every year to see if they’re wearing out. If you spot any issues, it’s crucial to fix them up right! Get yourself the right tools and top-notch spare parts for the job! This article breaks down where to look at during your check-up and gives you some expert tips on how to install everything just right!

Diagnostic advice

How to check on wear and tear?

1. Tire inspection

Before inspecting the steering and suspension parts, start by checking the tire pressure. Additionally, examine the wear of the tires. Incorrect wheel alignment or worn steering and suspension parts can cause uneven wear.

  • Toe wear: alignment problem, thin inner or outer edge
  • Camber wear: alignment problem, exaggerated inner or outerwear
  • Center wear: over inflation, thin tread in center of tire
  • Edge wear: under inflation, thin tread wear along tire edges
  • Patch wear: out of balance, patchy tread wear or flat spots
  • Cup wear: bent or worn-out, suspension component diagonal ‘Scalloped’ tread wear
2. Steering behavior

If the vehicle is pulling to one side or the steering wheel is not aligned with the direction of the front wheels, the wheel alignment and steering parts should be thoroughly checked and adjusted. The same applies in the case of vibrations on the steering wheel, play, heavy or loose steering.

There may be something wrong with a steering or suspension part if:

  • you hear knocking or mechanical sounds while driving the car
  • a proper wheel alignment is not possible.


3. Steering parts inspection
  • Always check all parts on the left and right side.
  • Check the power steering fluid level. If the level is low, there may be a leakage in seals or hoses.
  • Inspect the steering rack gaiters to ensure the rubber is in good condition without ruptures or cracks.
  • Check the dust covers to ensure they are in good condition. Corrosion will occur if water and dirt penetrate, with an early wear as a consequence.
  • Are all bolts and nuts securely fastened?
  • Check the tie rod ends and axial joints for play by shaking the front wheels, as shown on images below:

Wheel bearing

Ball joints

Tie rods

4. Suspension parts inspection
  • Always check all parts of the vehicle, including the left and right sides, front, and back.
  • Check for visible crack ruptures or leaks in the rubber of the silent blocks and ball joints.
  • Use a lever to check for any play at silent blocks and ball joints.
  • Additionally, inspect the dust covers to ensure they are in good condition. Corrosion will occur if water and dirt penetrate, making the part fail prematurely.
  • Are all bolts and nuts securely fastened?

Service advice

How to repair steering and suspension parts?


1. Installation instructions

First of all, start with carefully reading the installation instructions. Sidem provides easy access to these guidelines through three methods:

  • scanning the QR code on the Sidem packaging for direct access to the working instructions of that reference;
  • searching for the correct reference code in the Sidem online catalogue or Sidem catalogue app;
  • go through the ‘How to’ instruction videos on the Sidem Youtube channel

2. Compare old and new parts

Before starting the installation, compare the new Sidem part with the old one to ensure correct compatibility.


3. Replace in pairs
  • If one side is worn, it is advisable to change both sides at the same time to avoid extra costs and save time. The combination of new parts and old parts will also cause an imbalance in driving behavior.
  • Additionally, ensure that the left and right parts are mounted on the correct side of the car. If confusion is possible, Sidem will mark those stabilizers with ‘left’ and ‘right’.


4. Use the right tools

To prevent damage to the components and surrounding areas, use appropriate pressing tools instead of hammers to dismantle worn parts.


5. Clean surfaces

Clean the mounting holes and surfaces using a steel brush, cloth, degreaser or air pressure to ensure a proper fit for the new Sidem part.


6. Lubricate ball pins

To enable a smoother installation, lubricate the ball joint pins with oil or non-aggressive grease. This will also provide a protective layer and lubrication for the top of the dust cover, making it last longer.


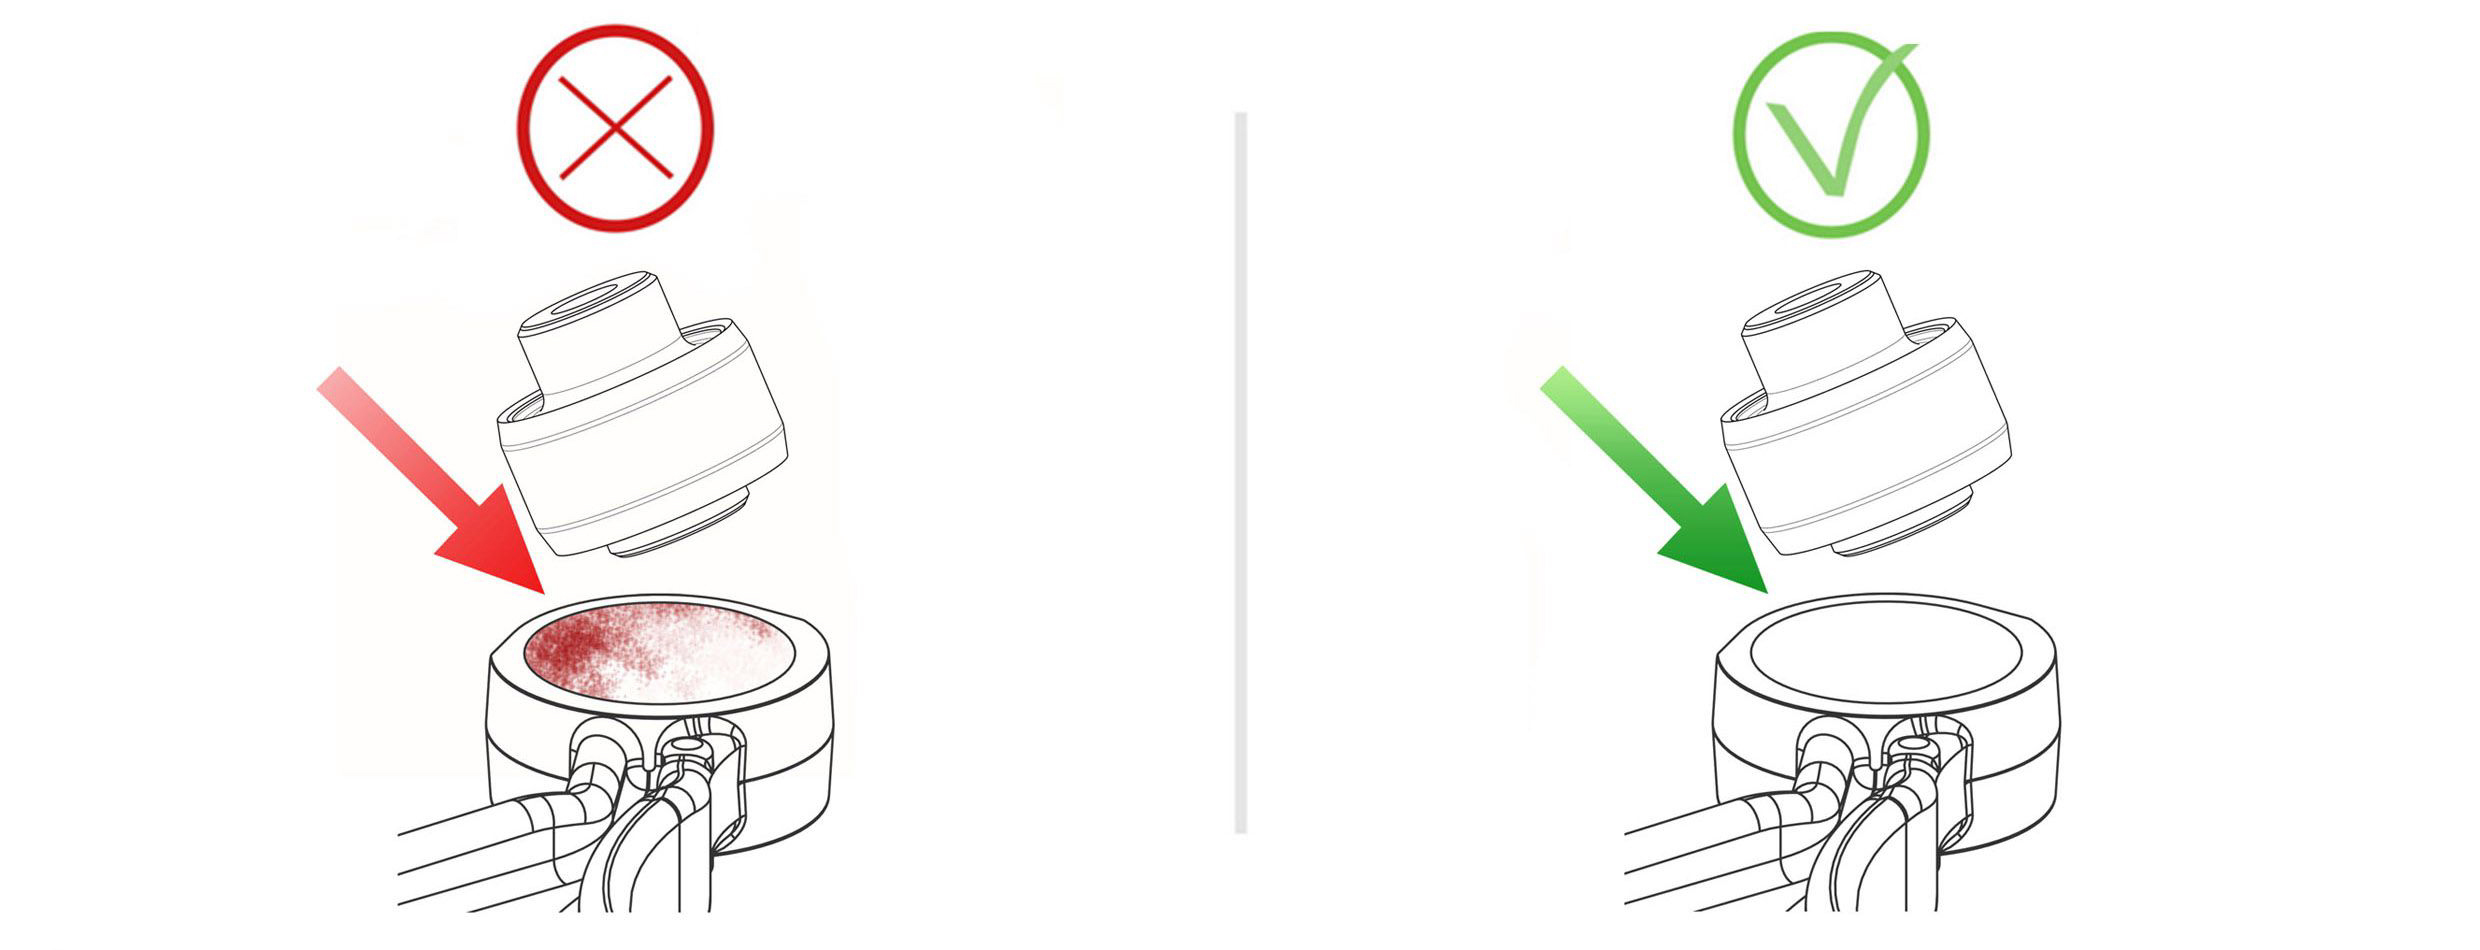
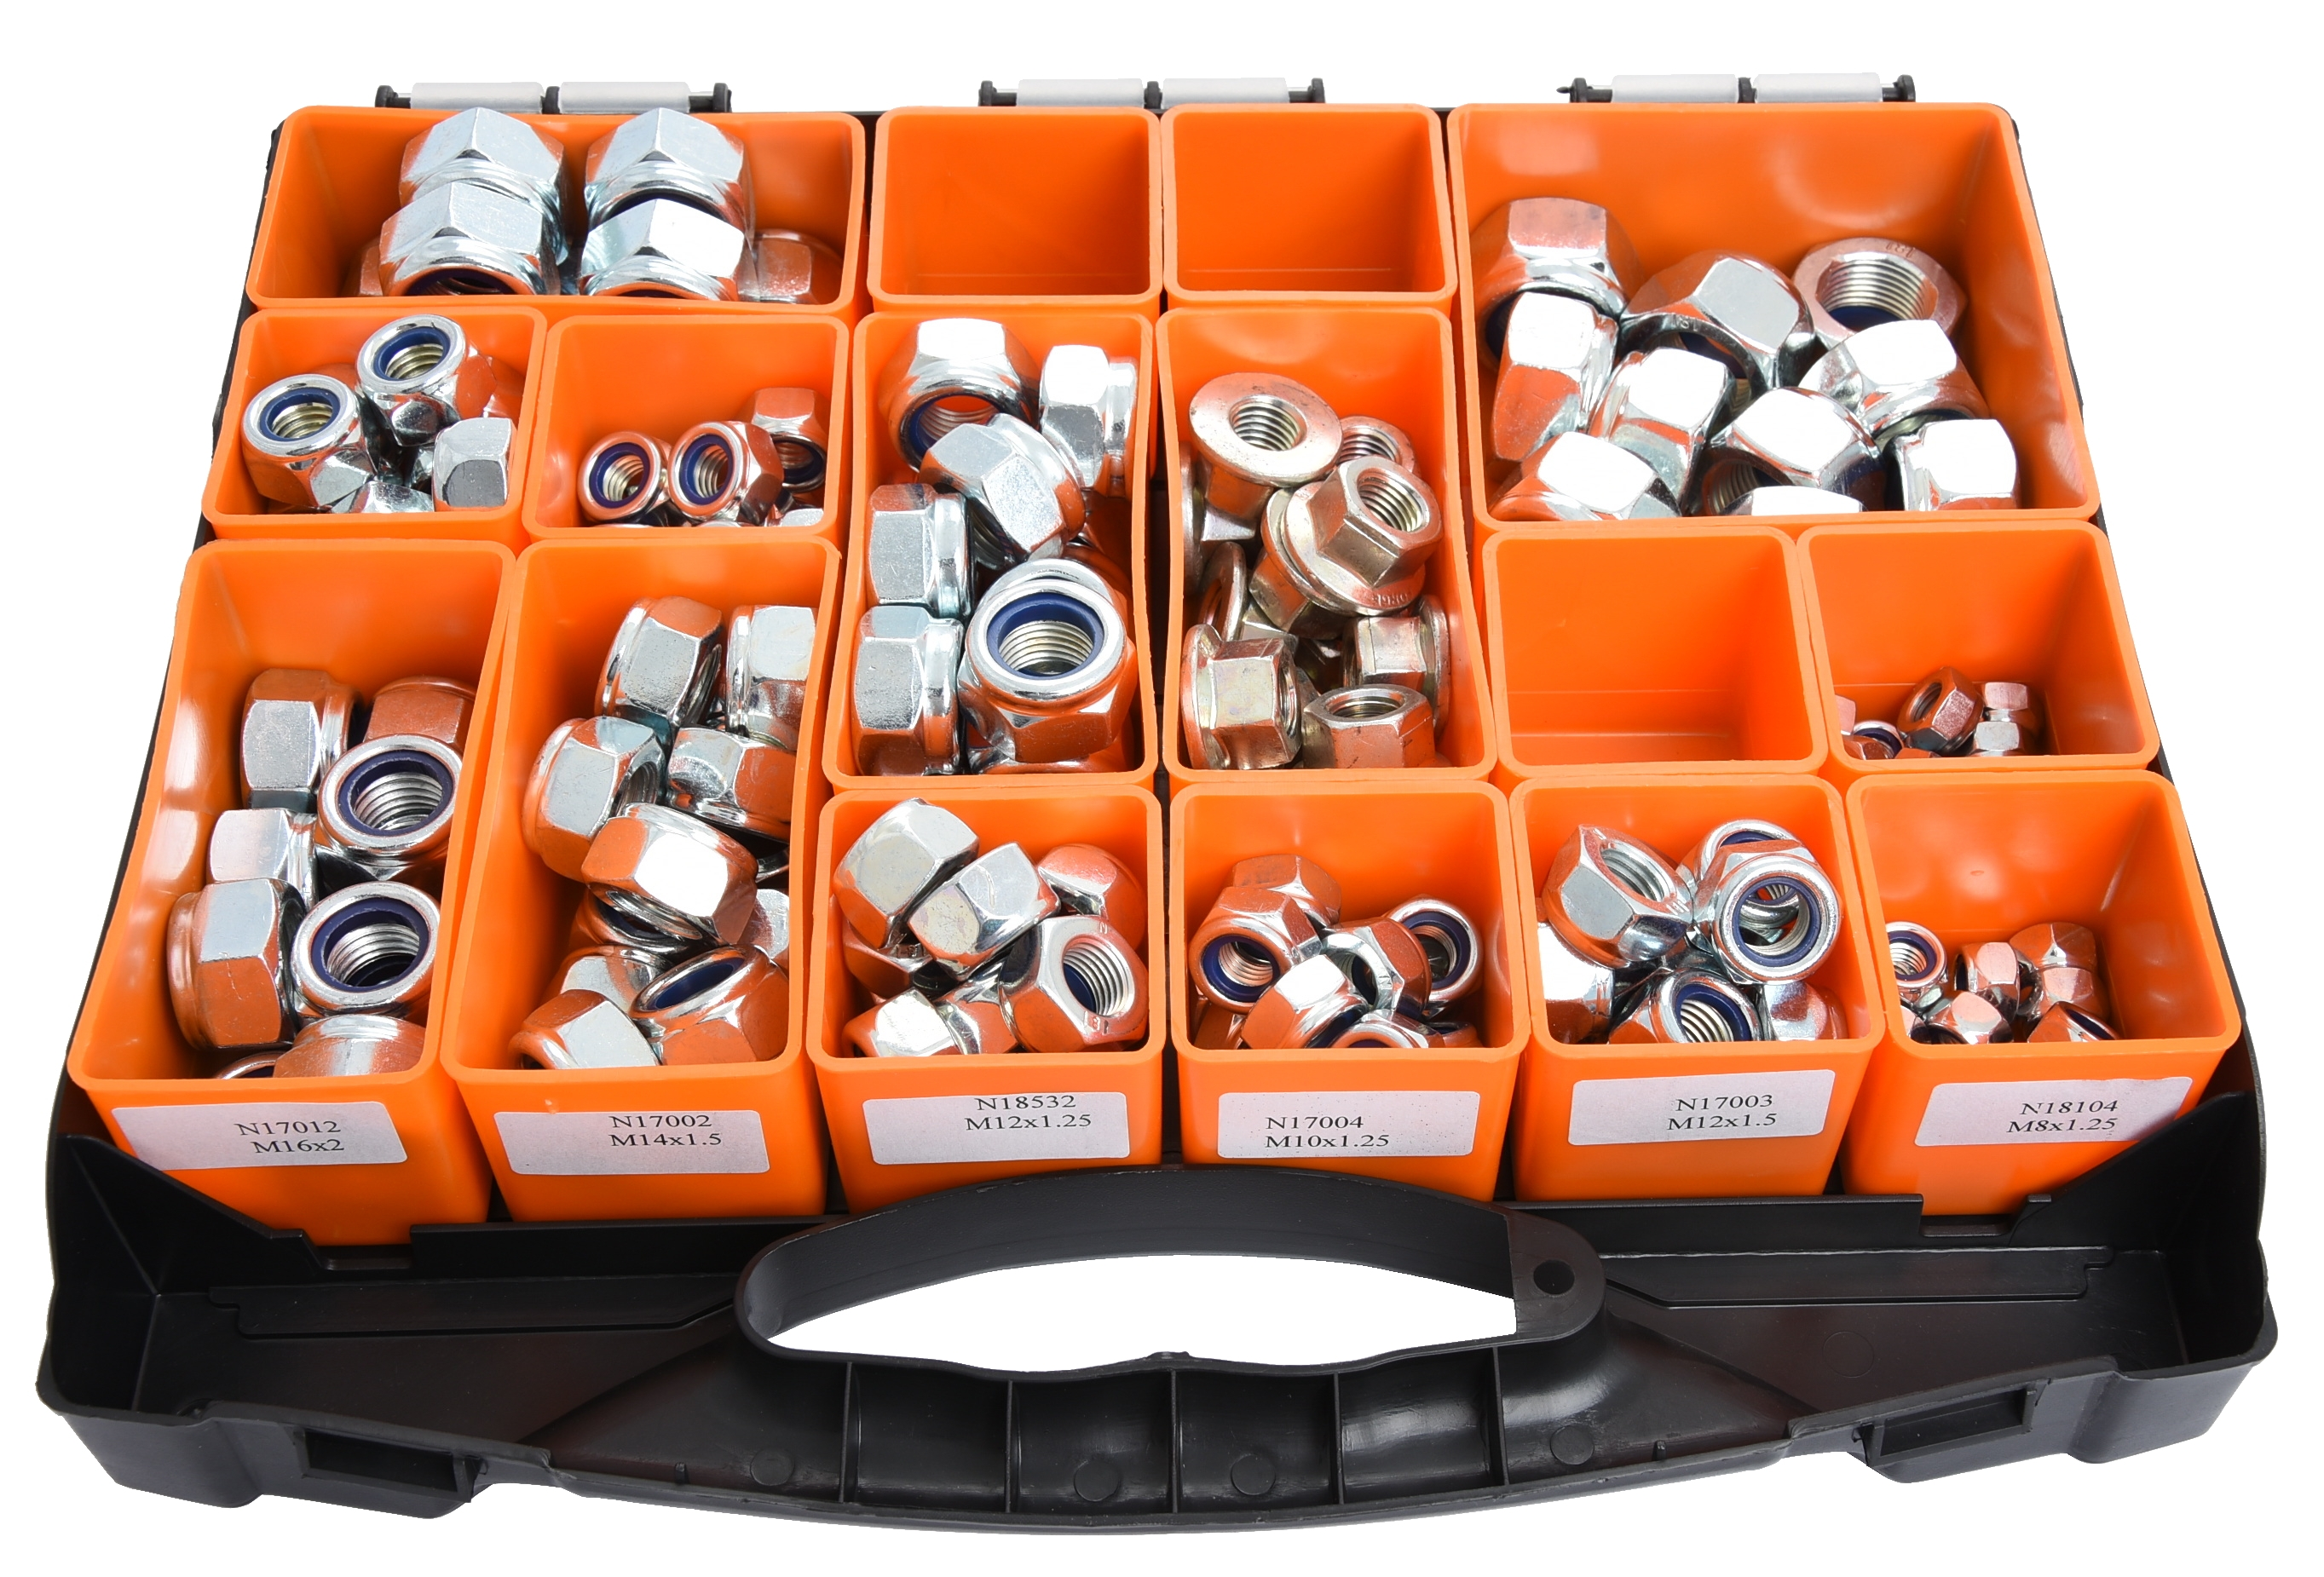
7. Use new fasteners

Secure the installation by always using the new bolts and nuts provided by Sidem. We also offer an easy to carry box to replace extra nuts that where loosened to complete a repair.

8. Avoid impact wrench

Do not use an impact wrench to tighten, as it may cause over-torquing and potential damage (twisted or damaged dust cover; breaking ball stud).


9. Follow torque instructions

Follow the instructions described by the car manufacturer to tighten the bolts and nuts.


10. Verify dustcovers

Once installed, verify the dustcovers on the ball joints are properly in place. Twisted or damaged dustcovers will cause water infiltration with an early wear as result.


11. Avoid pretension

If you have replaced the silent blocks or track control arms, remember to only tighten the mounting bolts when the vehicle is back on the ground and the suspension is in its resting position. This will avoid pretension in the silent blocks and early failure.


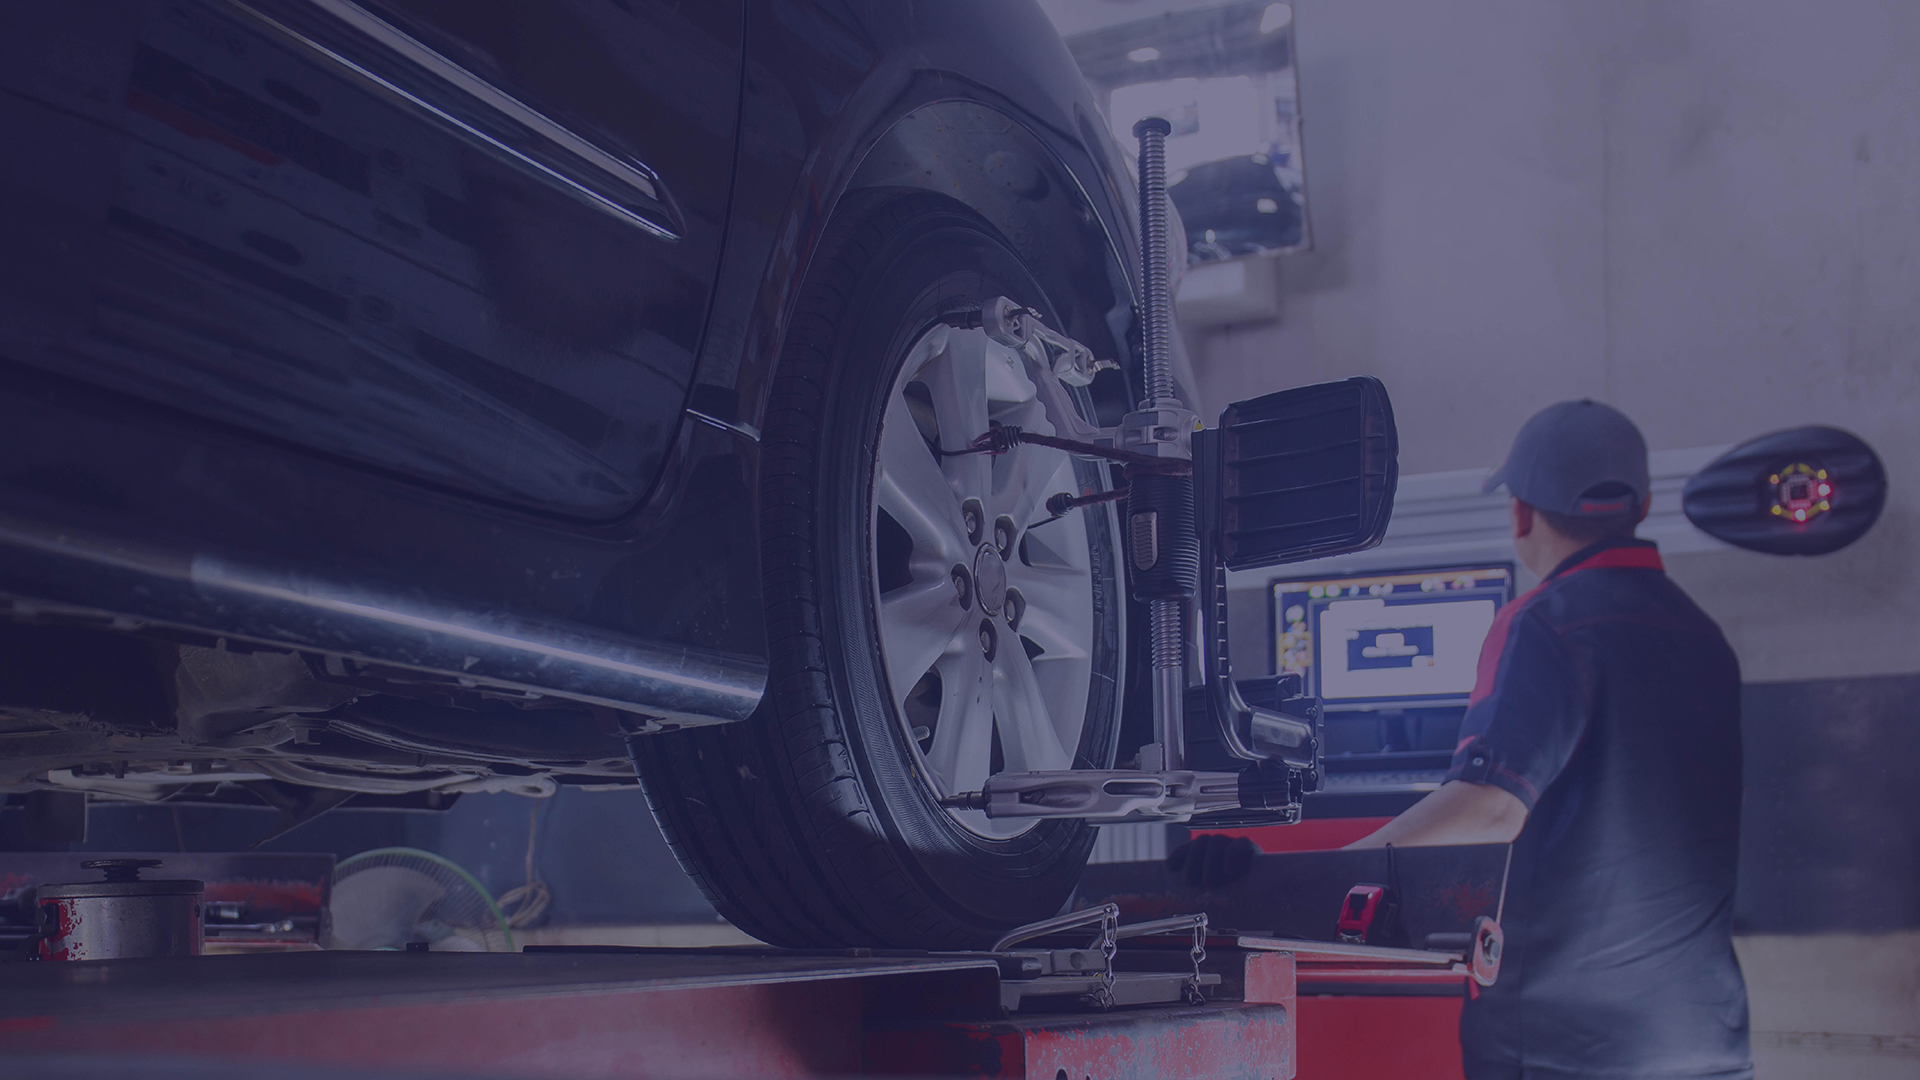
12. After installation
  • Always perform a wheel alignment.
  • Finally, take the vehicle for a test drive to ensure that the initial problems have been fully resolved.

Related tips

Sidem mounting tools

For safe and easy assembly we have developed special assembly tools: a handy help to assemble parts faultlessly according to the state of the art.

Read more
How to install or replace a track control arm?
Read more
How to recognize bad tie rod ends and axial joints?
Read more